LEGO Saturn V Display Stand | [0030] 🚀
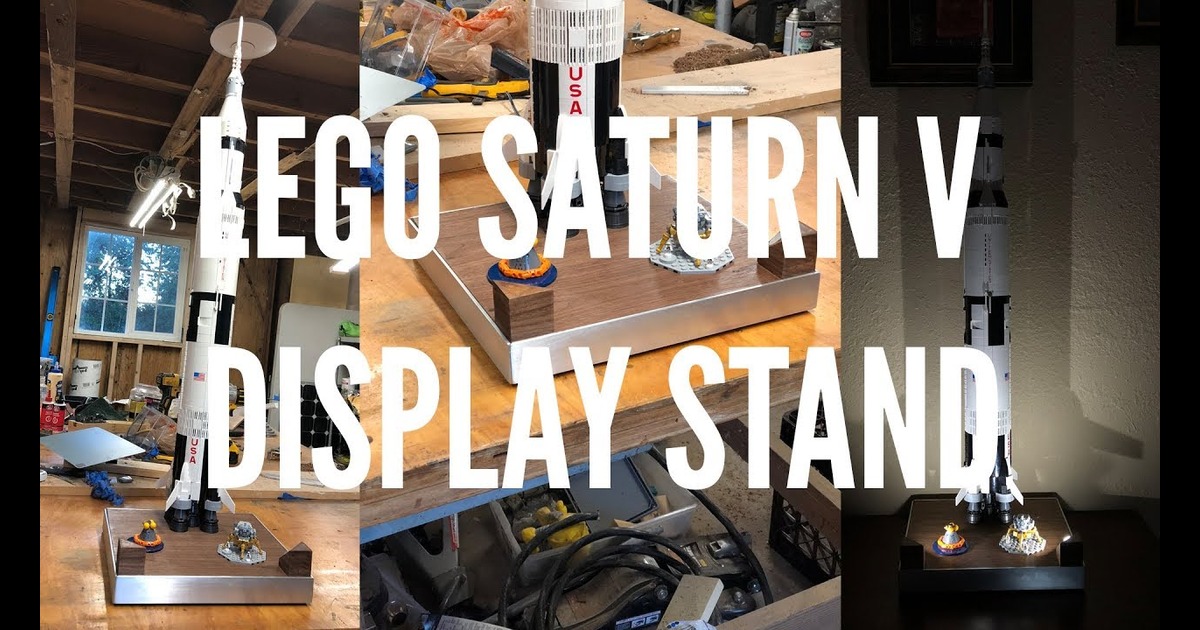
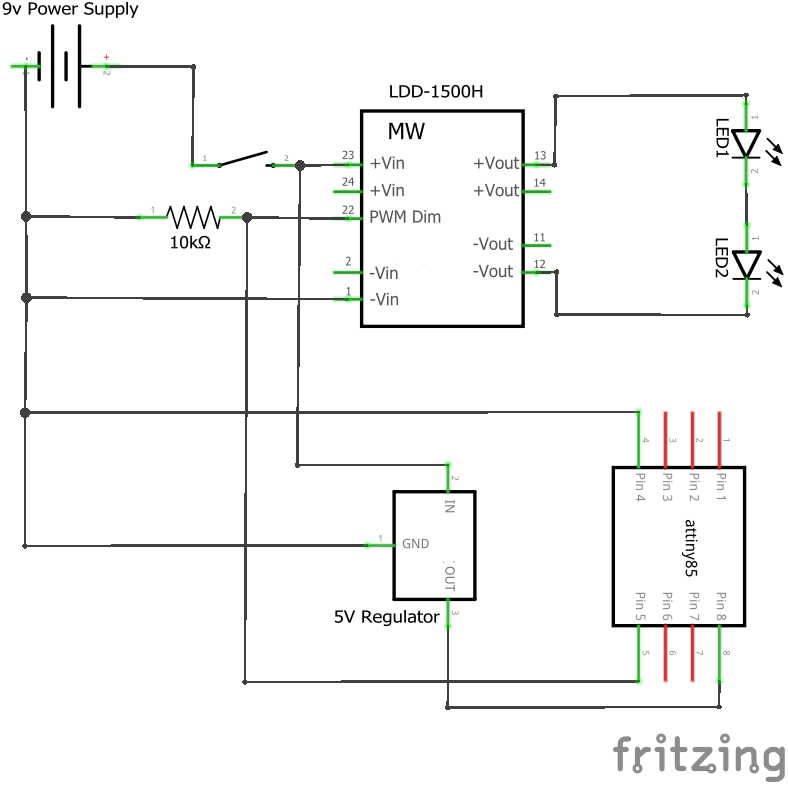
In this video I build a lighted stand for my LEGO Saturn V model. This video is a bit different and is maybe more inspirational than instructional, though I did try to make a point to show some of the techniques I used. Below you’ll find a schematic that details the driver circuit for the LEDs. This is ridiculously simple and mostly consists of the LDD-1500H constant current LED driver. The LEDs are some high power ones that I had lying around. In the video you can see that I mounted them to a piece of aluminum with thermal adhesive, this was to offer some heat dissipation but it’s not nearly enough to run the LEDs at full power. You wouldn’t really want to anyway since they’d be painfully bright. So, I’m under driving the LEDs at 1.5 amps and have them set at ~1/3 their full brightness (at that current) via PWM. The LDD-1500H has built-in dimming capability via PWM and I use an ATTiny85 to generate the PWM signal and set the brightness. The code for the ATTiny85 is so simple it’s barely worth mentioning but is included below as well. I had originally planned to include a potentiometer but decided not to when building the circuit (I can always add it later).
Code:
1
2
3
4
5
6
7
8
int pwmPIN = 0; // PIN that is connected to the LDD-1500H PWM input
 void setup() {
  // Nothing needed here
 }

void loop() {
 analogWrite(pwmPIN, 50);
}
Schematic:
[As an Amazon Associate I earn from qualifying purchases.]