Motorized Pinewood Derby Car

For this year’s Pinewood Derby race I made another remote controlled car for the Outlaw class. Unlike last year, this year I spent a little more time than the few hours before the race designing and building the car.
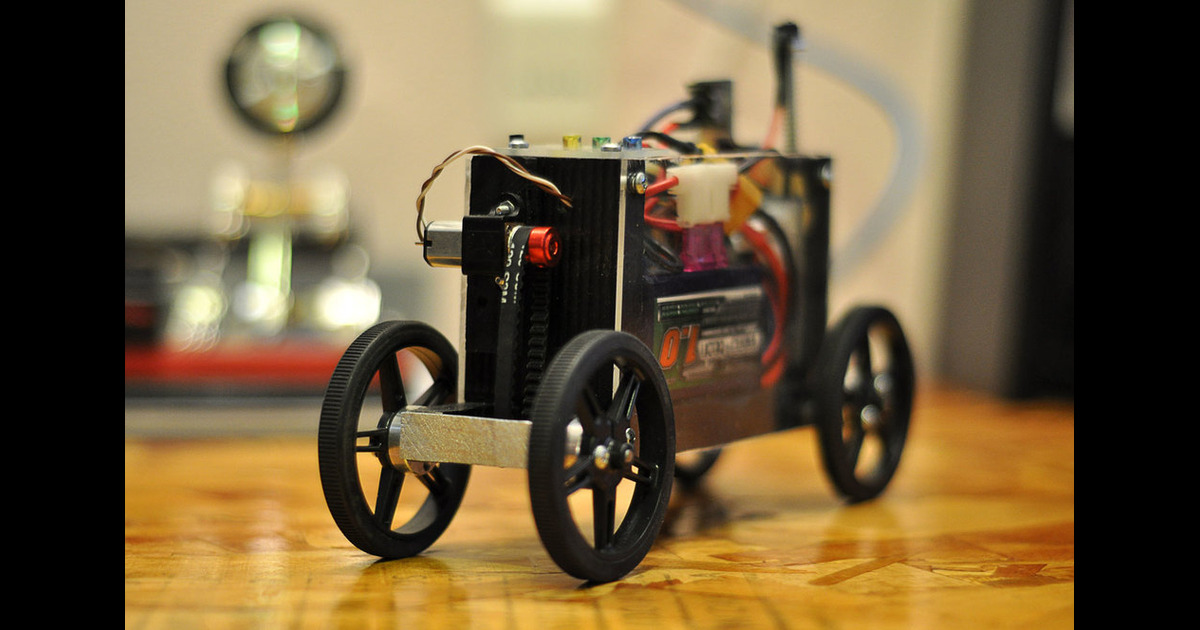
What I ended up with was a car powered by two micro DC motors, capable of multiple speeds, forward and reverse, controllable with an IR remote.
Obviously this is overboard. It would have been decidedly simple to have the motors triggered by a snap lever switch when the stop pin was released. However, simple is not what I was after. I wanted to make a remote controlled Pinewood Derby car and so that’s what I did.
The Hardware
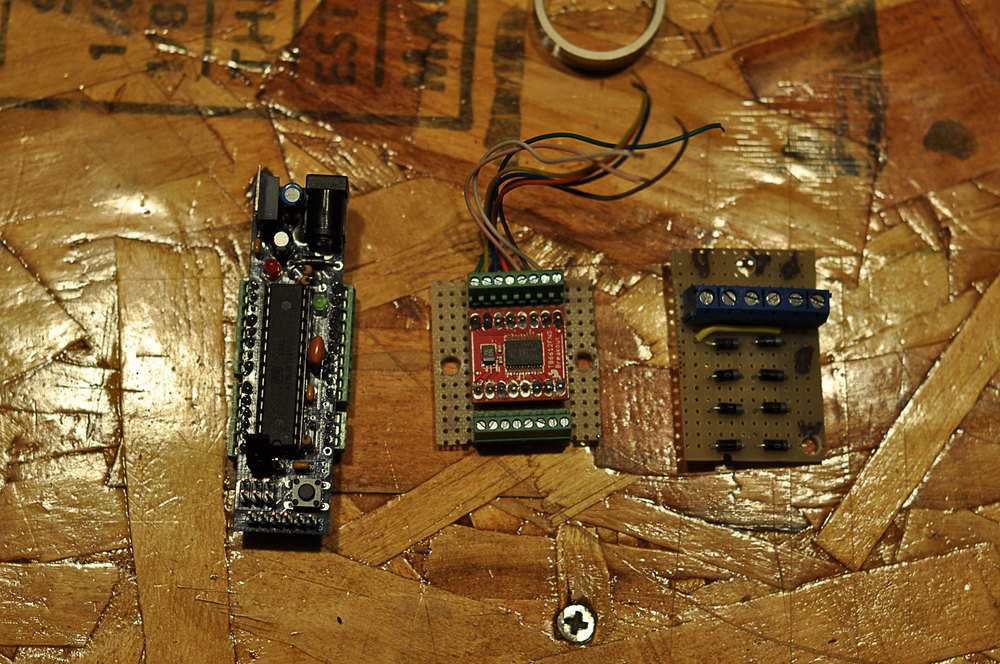
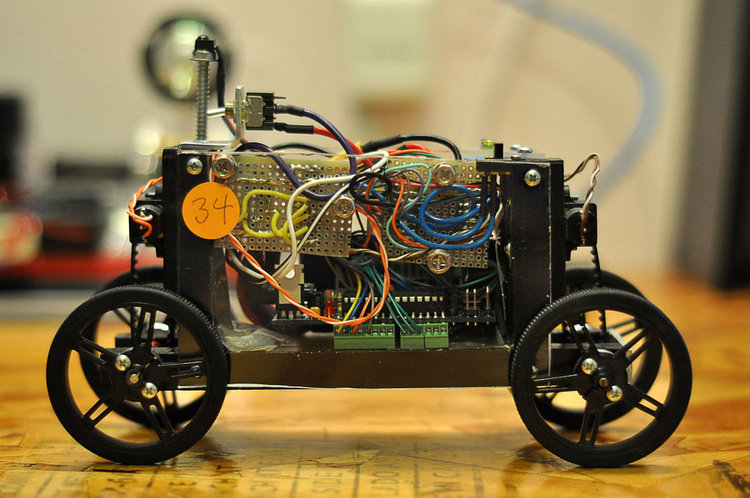
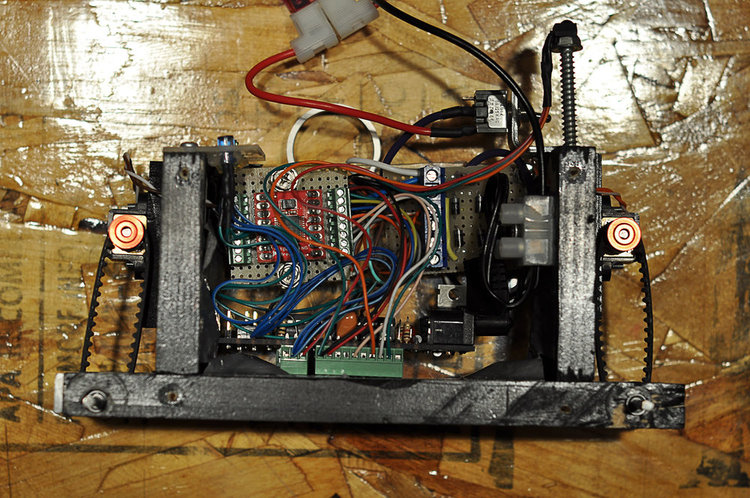
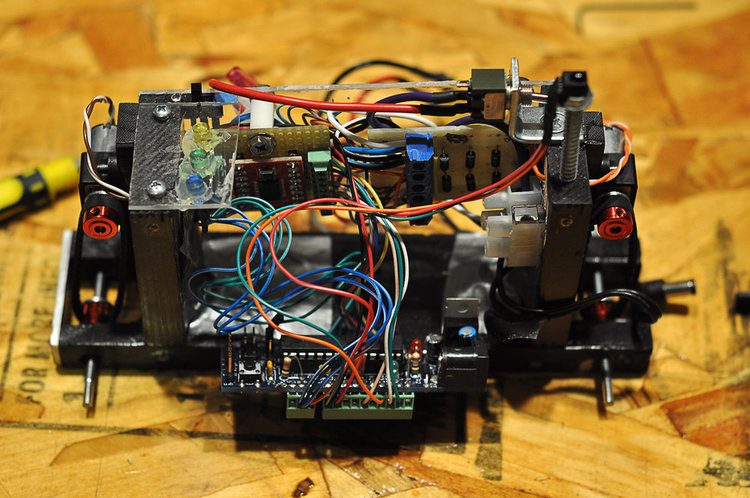
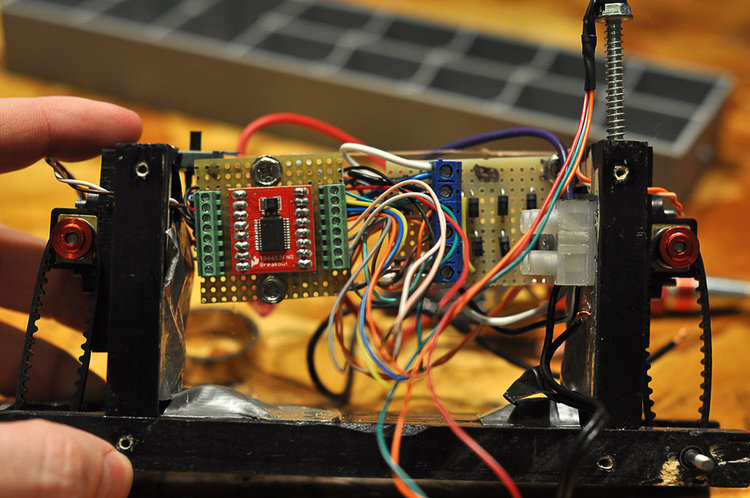
An Arduino, specifically the DC Boarduino, combined with the SparkFun TB6612FNG motor driver were used for controlling the motors. The remote control was done using an IR receiver connected to the Arduino and an Apple remote.
The TB6612FNG is has two separate H bridges that let you control the direction of the motors independently. It uses the PWM output from the Arduino to control the speed of the motors. Using the example code from bildr.org I had the Arduino controlling the motors in no time.
For the IR control I used Ken Shirrff’s IR Arduino IR library. The library made getting the IR control working really simple. First, I used the library to decode the hex values from each of the buttons on the Apple remote. Then it was just a matter of including the IR library in the main sketch and using the decoded hex values where I needed them in the code. When the Arduino received an IR signal it would decode it and if the hex value matched one that was in the main sketch it would take the action specified for that value.
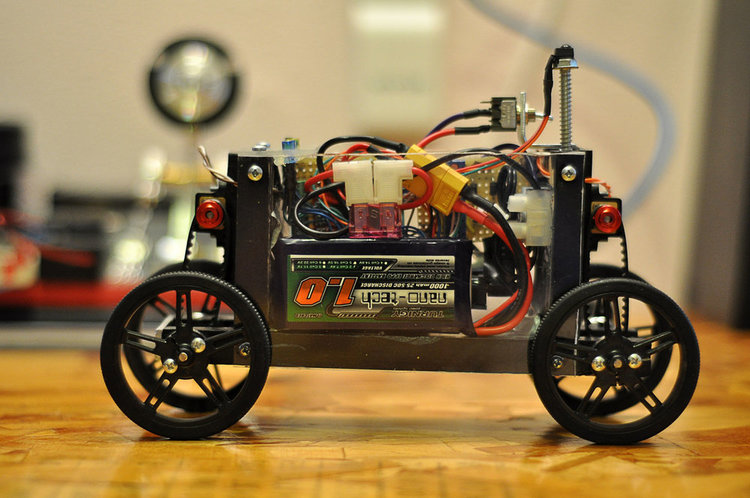
I used a Turnigy nano-tech 1000mah 2S Lipo battery pack to power both the Arduino and the motors. The battery pack provides 7.4v, which is fine for the Arduino. The motors are rated for 6 volts so I was overpowering them a bit with this battery. However, other than having to be careful not to let them get too hot (by running them for long periods of time), the motors did fine at the 7.4v.
I also added a series of diodes to protect the motors from back EMF. Two things were not clear to me on this front: 1) It was not entirely clear that this was necessary, some said the diodes built into the TB6612FNG were sufficient some said they were not. 2) There seemed to be differing opinions how to use diodes to protect against back EMF when you need the motor to spin in both directions. I ended up using the diodes in the configuration described by AndyTallack on Instructables since I was able to find other documentation endorsing this diode configuration.
One of the harder things (if you don’t have/have access to a machine shop) is finding wheels. I sourced mine from Pololu. I ended up having to use the same size wheel on the front and back in order to clear the track and say within the length restrictions. The 60mm wheels were also the smallest ones that supported the use of the mounting hub.
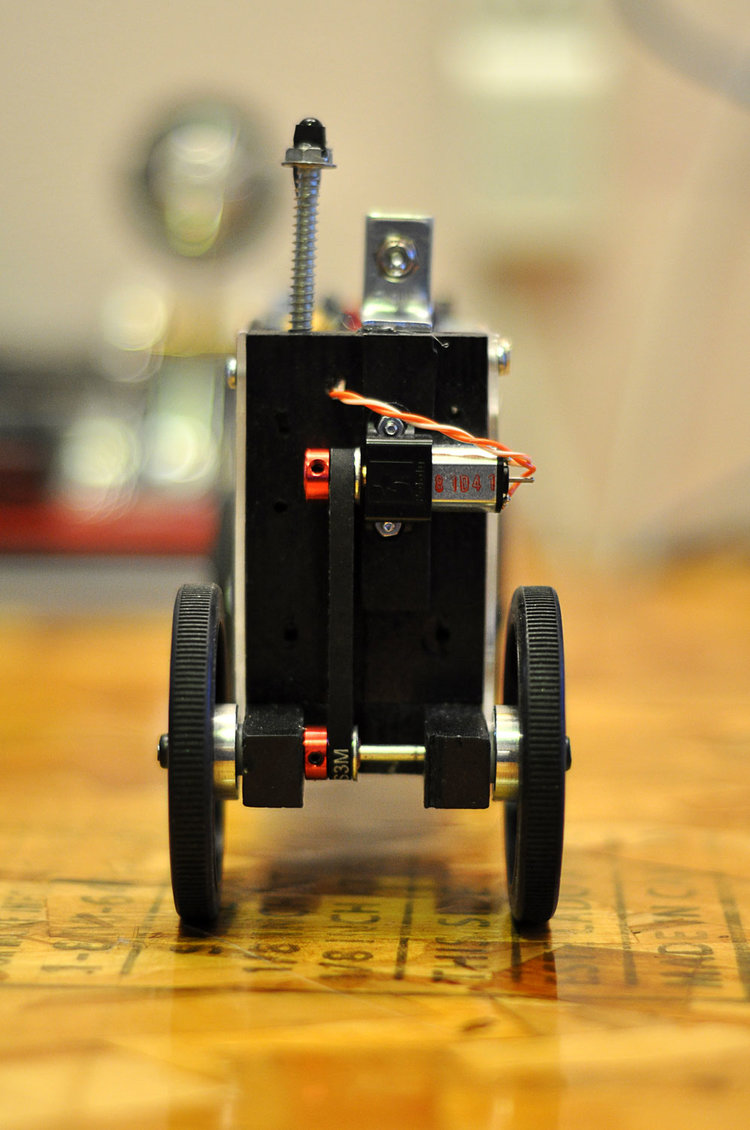
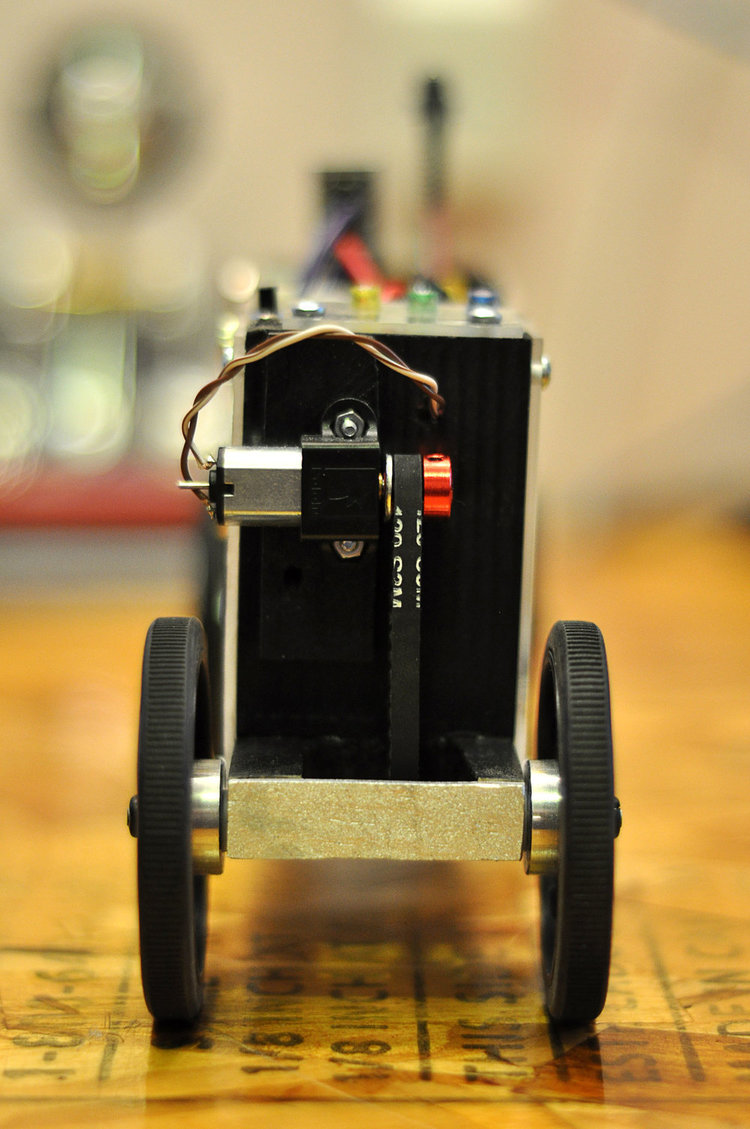
The motors, also from Pololu, are 10:1 3000 RPM micro metal DC motors. One important note about these motors is that their stall current is 1.6 Amps. The TB6612FNG motor controller is rated at 1 Amp per channel but can handle brief 3.2 Amp peaks. The upshot is that I had to be careful not to stall the motors; at least not for too long.
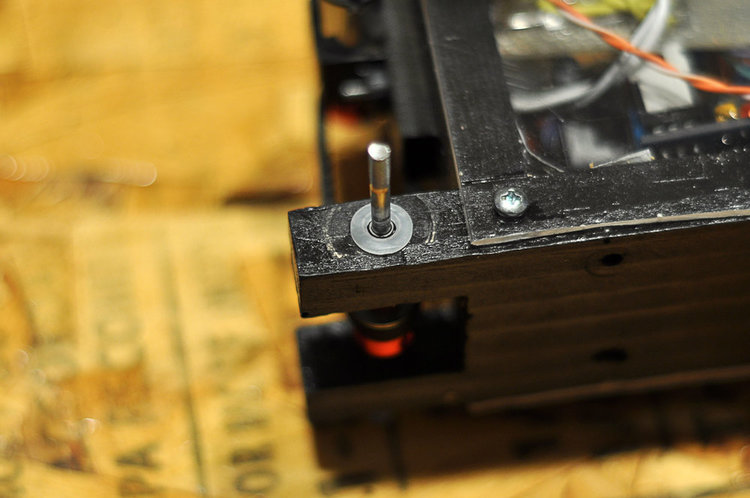
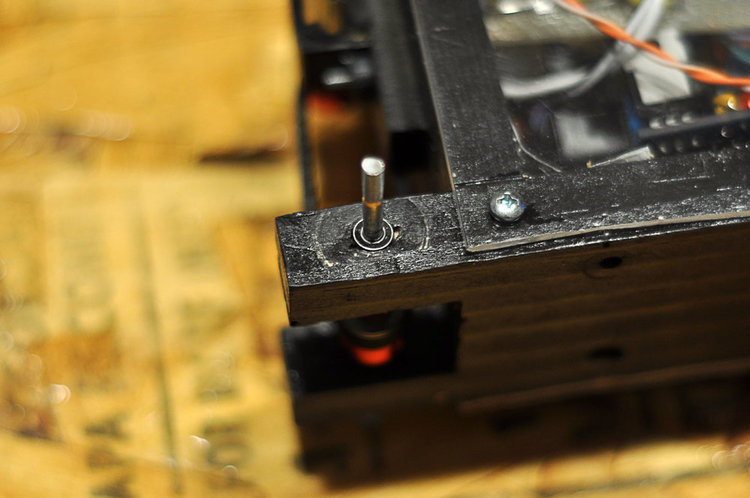
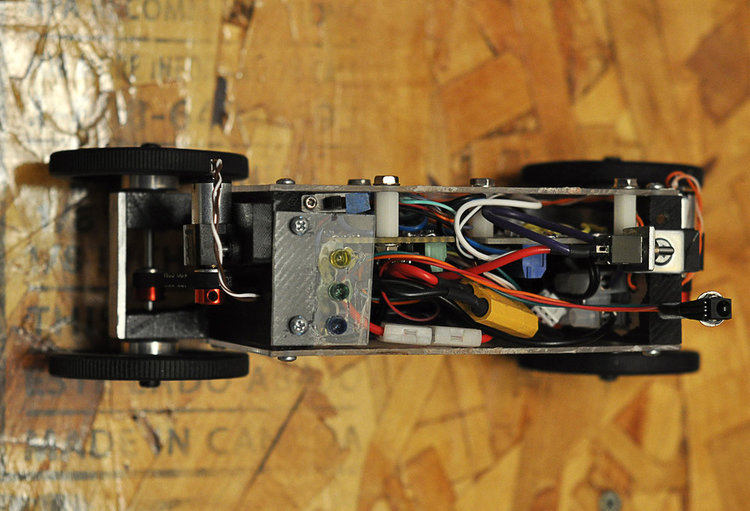
I used some generic 3mm (OD) shaft that I found… somewhere, for the axle. I used the mounting hub to get a secure fit between the axle and the wheels. I also used some small pressed bearings for the axles to ride in. This didn’t work out as well as I had hoped, the bearings I used seemed to be very flimsy and seemed to bind when pressed into the mounting hole. Still the axles seemed to run smoother with the bearings in place.


The chassis was made from an actual Pinewood Derby car block; two actually. The length is the same as the original block but I cut most of the block off horizontally, making it a little less than 0.5″ thick. Two more sections of Pinewood Derby block were cut and used for the vertical frames that held the motors.
Finally, I used Fingertech timing belts and 9 tooth pulleys to connect the axles with the motors. The pulleys had a 3mm bore so they fit both the 3mm axle and the 3mm shaft on the motors.

Design Thoughts
The weight of the car came out to about one pound. Given this, I realized that it would have have been better to go with lower RPM, higher torque motors. You can see in the videos below that at the lower speeds the motors had a difficult time overcoming the friction from the belt tension, the lower speed was barely able to move the car.
Also, as mentioned, higher quality axle bearings that didn’t bind would be an improvement.
I programmed the Arduino to set the motors in one of three different speeds depending on how many times the volume up or down buttons were pressed. As you cycled through the volume up button on the Apple remote the forward speed of the motor would increase: low, medium, high, and then off. The volume down button controlled the reverse speed in the same manner. The center play/pause button was programmed to set the motors to full speed forward. The menu button was used to enable and disable the remote control of the car.
In the race I only used the pause/menu full speed button. So the other speed settings were superfluous in terms of their usefulness for the race. But they were a good exercise in terms of the programming required to make it work.
Results

Unfortunately the track timers malfunctioned during the Outlaw race so the exact speeds of the cars are not known. However, I was able to extrapolate the speeds using video footage of the race.
My car was the second fastest Outlaw car at ~10.8 MPH. The fastest Outlaw car went ~11.3 MPH. The slowest regulation car was ~5.8 MPH.
The faster Outlaw car used four very small DC motors and used a 9v battery for power. The motors powered on when a snap lever switch closed; the switch was held opened by the track stop pin. I don’t know the exact weight of the faster car but I can say that it was far lighter than mine. I’d venture to guess that most of the weight came from the 9v battery. So, the fact that my, nearly one pound, car was only ~0.5 MPH slower than the faster car is kind of neat.
The one thing that I did not get to test on the track was the car’s ability to go back up the track backwards; didn’t have time during or after the race. In any case, I’m not 100% confident it would have been able to, not all the way back up at least. Testing it’s climbing ability at home did not lead me to believe that the motors would be strong enough to push it up the track.
Videos
The first two videos are bench-top tests showing the controls and how the car moves. The last video is from the third or fourth run of the race. I don’t feel like this was the fastest run for my car but it’s the best video I have of it running. I suspect that the motors were starting to get warm, affecting their performance.
2013 Outlaw Pinewood Derby from Adam on Vimeo.
2013 Outlaw Pinewood Derby (2) from Adam on Vimeo.
2013 Pinewood Derby Race from Adam on Vimeo.
Pictures